 Orcas Island Siding
 Why Siding Repair Looks Different in Crow Valley
Crow Valley sits inland from Orcas Island's shoreline, but that distance doesn't buy a house much protection. It's a low, tree-shaded valley — more sheltered from wind than an open waterfront lot, but that shelter comes with its own tradeoffs. Fir and madrona canopy keeps walls shaded and damp longer after a storm passes, salt-laden marine air still moves across the whole island regardless of how far a property sits from open water, and driving rain that comes through with a winter system finds its way sideways into wall assemblies whether a house sits on the water or back in a valley. Add in a moss season that can run most of the year on shaded, north-facing walls, and you get conditions that put real, sustained pressure on siding — often in ways that aren't obvious from the ground.
Repair work here isn't just patching whatever's visibly wrong. It's figuring out what's actually happening behind the siding, why it's happening in this specific spot on this specific house, and whether a patch will actually hold given what Crow Valley's climate does to a wall over the next several wet seasons. This page covers the repair issues we see most often in this part of Orcas Island, what a repair job should actually include, and when repair stops being the right answer.
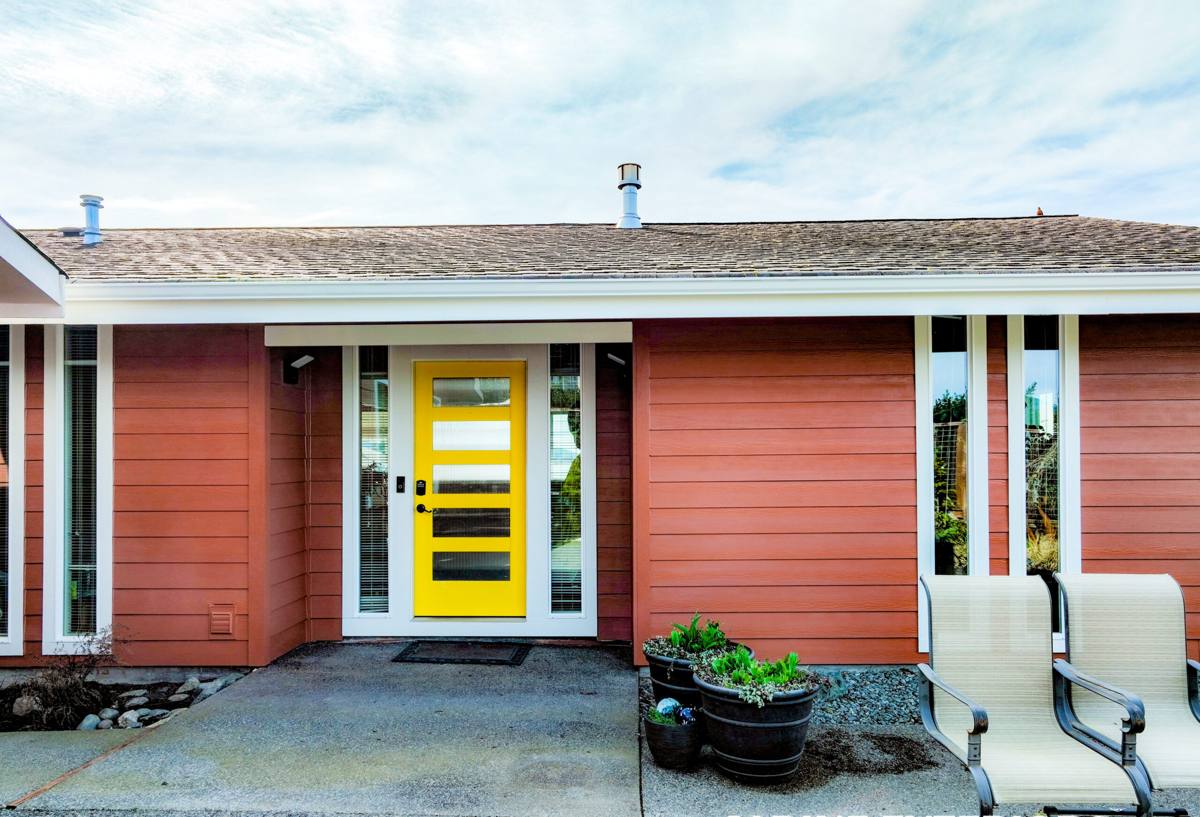
What Crow Valley's Climate Does to Siding
Shade, Moisture, and a Long Moss Season
Heavier tree cover than an open shoreline lot means Crow Valley walls often stay wet longer after rain — less direct sun and wind to dry a wall surface, more organic debris settling into gaps and behind trim. That combination is exactly what moss and mildew need to establish, and once it's holding moisture directly against a wall surface, it accelerates whatever decay process was already underway underneath.
Salt Air, Even Away from the Water
Being set back from the shoreline reduces direct salt spray, but it doesn't eliminate salt-laden air working its way across the island. Over years, that exposure still corrodes fasteners, flashing, and trim hardware, and it still shortens the working life of a field-applied paint or stain finish faster than the same product would last on a comparable inland mainland site.
Driving Rain
Winter storms crossing the San Juan Islands don't fall straight down. Wind drives rain sideways into whichever walls face the weather, working it into butt joints, corner trim, and any gap in flashing or caulk that's supposed to be sealing that wall off. A valley location changes which walls take the brunt of it compared to an open waterfront lot, but it doesn't remove the exposure.
The Repair Issues We See Most Often Here
Hidden Moisture and Rot Behind the Siding
The most serious repair calls almost always trace back to water that got behind the cladding, not water that came through the face of it. A failed house wrap, a gap in flashing at a window or corner, or a butt joint that's opened up lets moisture in behind the siding where it can sit against sheathing and framing for months before it ever shows on the surface. By the time a soft spot or a stain is visible from outside, the damage underneath is often further along than it looks.
Moss and Organic Growth Holding Moisture in Place
On heavily shaded lots, moss and lichen aren't just a cosmetic issue — they hold moisture directly against the siding surface, which keeps that surface wetter, longer, than an open wall would ever stay. On wood-based or engineered wood siding especially, that sustained dampness is a direct path to decay at the surface it's growing on.
Caulk and Trim Failure
Caulk is a maintenance item, not a permanent seal, and constant wet-dry cycling in this climate shortens how long it holds up. A cracked or shrunken bead at a butt joint, window trim, or corner board gives wind-driven rain a direct entry point behind the siding, often in a spot that looks minor from a few feet away.
Impact and Storm Damage
Wooded lots bring their own hazard: falling branches and windblown debris during winter storms crack, dent, or knock loose individual panels or boards. That kind of damage is usually straightforward to identify, but it still needs a repair that reseals the wall correctly, not just a cosmetic patch over the visible crack.
Cosmetic Wear vs. a Real Repair Issue
Not everything that looks bad on aging siding needs the same response, and telling the difference is the actual job of a proper inspection before any repair work starts.
| What You See | Often Just Cosmetic | Usually Needs Repair |
|---|---|---|
| Moss or dark staining on shaded walls | If siding underneath is still firm | If it returns quickly after cleaning or siding feels soft nearby |
| Faded or chalky paint finish | Yes, on its own | Only if paired with cracking or exposed bare substrate |
| Small gap at a butt joint or trim seam | Rarely on its own | Usually — an open path for wind-driven rain |
| Soft or spongy spot when pressed | No | Yes — likely moisture damage underneath |
| Cracked or missing individual panel | No | Yes, and check surrounding panels for related damage |
| Rust streaking below fasteners | Cosmetic if isolated | Can indicate fastener or flashing failure |
The pattern worth remembering: anything that's just about appearance can usually wait for routine cleaning or a scheduled maintenance visit. Anything that suggests moisture is getting behind the siding shouldn't wait for the next wet season to make it worse.
What a Correct Repair Actually Involves
Diagnosing Before Patching
A repair that just caulks over a crack or nails a replacement board over a soft spot without finding out why that spot failed is a repair that fails again, usually faster the second time. A proper job starts with removing enough siding to see what's actually happening behind it — the condition of the house wrap or weather barrier, whether flashing at the nearest window or corner is doing its job, and how far moisture has actually traveled from the point it got in.
Matching Materials and Finish
Patch repairs on an older wall run into a real practical problem: matching the existing siding's profile, exposure, and especially its faded color is often harder than it sounds, and a poor match is visible from the street. On some homes, a full elevation or full-wall replacement makes more visual and practical sense than a patch that will always look like one. We'll give a straight answer on which situation a given repair falls into before starting work.
Fixing the Cause, Not Just the Symptom
Replacing a rotted board without correcting the flashing or barrier failure that let water in behind it is a temporary fix at best. Structural and moisture-related repairs get treated as a chance to correct the underlying detail — not just cover the visible damage back up and hope the same spot doesn't fail again next winter.
Repair or Replace: How That Decision Gets Made
| Factor | Repair Usually Makes Sense | Replacement Usually Makes Sense |
|---|---|---|
| Extent of damage | Isolated to a few boards or one section of wall | Spread across multiple walls or found at multiple elevations |
| Age and condition of remaining siding | Siding is otherwise sound and reasonably young | Siding is near or past its practical service life |
| Moisture source | Identified and correctable at the repair site | Traced to a widespread barrier or flashing failure across the wall |
| Cosmetic match | Close match available, patch won't stand out | Faded or discontinued product makes a clean match unlikely |
| Long-term cost | Targeted fix is genuinely the cheaper path | Repeated repairs to the same wall are starting to add up |
We'll walk a property and give an honest read on which column it falls into, including when the answer is that a repair is all that's needed — not just default to whichever job is bigger.
Our Siding Repair Process
- On-site inspection. We look at the actual damage, probe surrounding areas for moisture, and check how sun, shade, and wind exposure differ across the house's walls.
- Diagnose the cause. Before recommending a scope, we identify why that spot failed — flashing, caulk, house wrap, moss holding moisture, or impact damage — not just what it looks like from outside.
- Careful removal. Damaged siding comes off cleanly enough to inspect what's behind it without creating unnecessary damage to sound material nearby.
- Inspect and correct the weather barrier. House wrap and flashing at the repair site get checked and corrected as part of the job, not left as-is under new siding.
- Replace with matched or compatible material. We match profile, exposure, and finish as closely as the existing siding allows, and we're upfront if an exact match isn't realistic.
- Seal and finish correctly. Caulk, fastening, and finish work are done to hold up through the next several wet seasons, not just look right on install day.
- Final walkthrough. We cover what was found, what was fixed, and what's worth keeping an eye on going forward.
Why It Matters to Hire a Crew That Already Works Crow Valley
A contractor who mostly works drier, more open sites can still do competent repair work here, but Crow Valley's mix of tree cover, valley moisture, and island logistics brings up questions that a crew working this area regularly has already answered. Knowing which wall orientations on a shaded valley lot stay wet longest, recognizing moss-driven decay before it spreads further than it looks, and having a realistic plan for scheduling materials and follow-up visits around ferry access all come from having done this work here before, not from a generic repair checklist.
That familiarity also shows up in the estimate itself. A crew that already knows what tends to go wrong on Crow Valley siding gives a more accurate scope up front, with fewer surprises once the wall is actually open.
When Repair Isn't the Long-Term Answer
Repair is the right call more often than homeowners expect, and we'll say so when it is. But on siding that's already older wood, engineered wood, or vinyl and dealing with widespread moisture damage across more than one wall, a string of repeated patch jobs in this climate usually just delays the same conversation a year or two at a time, at a cumulative cost that starts to rival replacement anyway.
When a home does reach that point, this company installs one siding product: James Hardie fiber cement. It has no organic core for salt air, driving rain, or a long moss season to work into the way wood-based products do, and its HZ product lines are engineered specifically for regions dealing with sustained moisture exposure rather than a single generic formulation. The factory-applied ColorPlus finish holds color and adhesion far longer under this kind of exposure than a field-applied paint job, and it comes backed by a strong transferable warranty — a meaningfully easier conversation at resale than an aging wood exterior with a repair history to explain. We won't push replacement on a wall that just needs a repair, but when repairs stop being cost-effective, Hardie is what we recommend and the only siding we install.
Signs Your Crow Valley Home Needs Siding Repair Now
- Soft or spongy spots anywhere on the siding, especially low on the wall or near window and door trim
- Moss or dark staining that comes back quickly after cleaning
- Visible gaps or cracking at butt joints, corner trim, or window and door trim
- Peeling, bubbling, or chalky paint, particularly on wood or engineered wood siding
- Cracked, warped, or missing panels after a storm
- Rust streaking below fasteners or trim hardware
- Musty odors or staining on interior walls that back up to exterior siding
None of these automatically mean a full re-side is needed, but each is worth a professional look before another wet season adds to the damage.
If you're seeing any of this on a Crow Valley home, or just want a straight read on where your siding actually stands, we're glad to come take a look. Reach out using the form below for a free, no-pressure estimate.