 Orcas Island Siding
 Building New on West Sound? Get the Windows Right the First Time
New construction is the one chance to install windows correctly from the studs out — before siding, trim, and interior finishes close in around them. On West Sound, that first-time installation matters more than almost anywhere else on Orcas Island. The combination of salt-laden air off the water, wind-driven rain that hits walls sideways during winter storms, and a moss and mildew season that can stretch for months means a window opening with even a small flashing gap or a poorly bedded nailing flange will show problems within a few wet seasons, not decades. We build the water management into the rough opening itself, so the window is the last line of defense, not the only one.
This page covers what we actually do differently on new-construction window installs for West Sound homes, why it matters in this specific microclimate, and what to expect from working with a crew that installs windows on Orcas Island as a regular part of its business, not as an occasional side job.
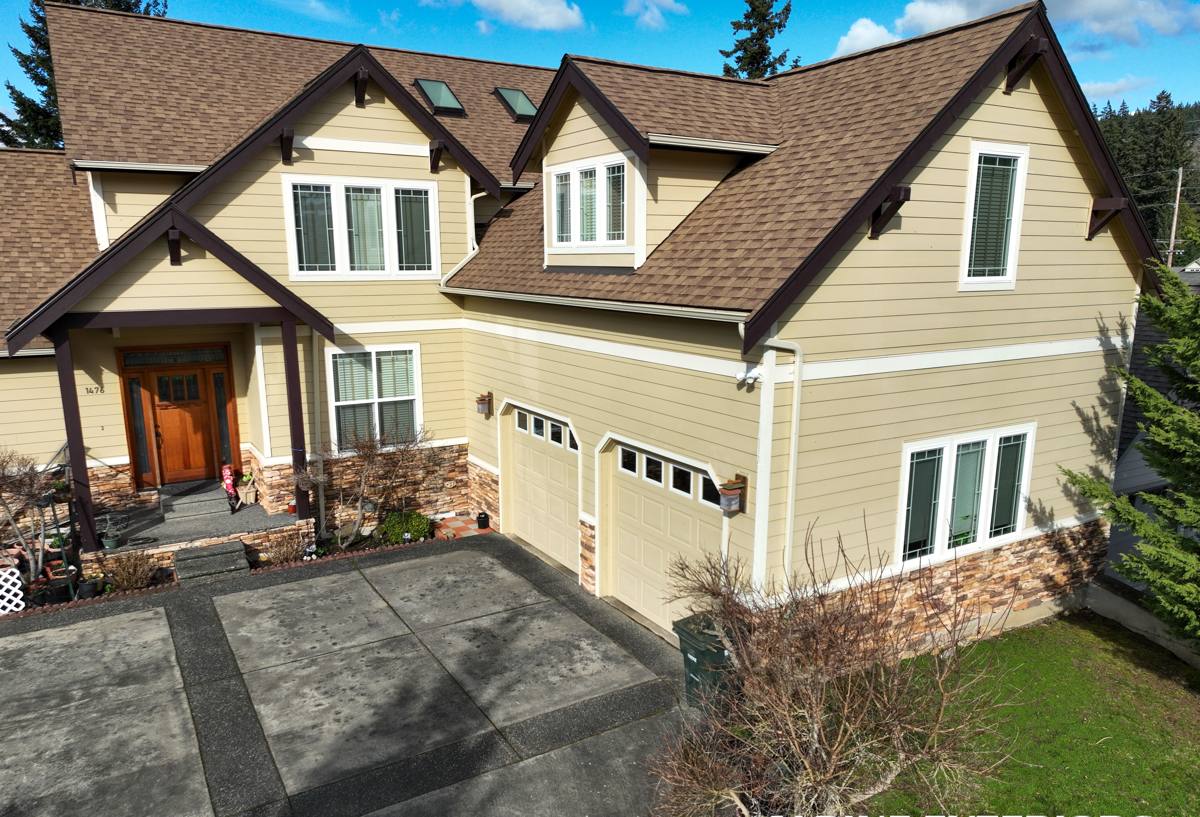
What West Sound's Climate Does to a Window Opening
West Sound sits exposed to weather moving across the Strait and up the sound, which means homes here take more direct wind-driven rain than more sheltered pockets of the island. A few things follow from that:
- Salt air accelerates corrosion on unprotected fasteners, aluminum components, and lower-grade hardware — stainless or coated fasteners and marine-rated flashing tape are not optional upgrades here, they're the baseline.
- Driving rain finds any gap in the water-resistive barrier or flashing sequence. On a new build, this is preventable with correct shingle-lap flashing at the sill, jambs, and head — but only if it's done in the right order before siding goes on.
- Extended damp seasons feed moss and mildew on sills, trim, and anywhere water sits instead of shedding. Proper slope at the sill pan and drainage gaps behind trim keep organic growth from getting a foothold.
- Temperature swings between marine layer mornings and clear afternoons stress seals and glazing over time, which is why we pay attention to expansion gaps and proper shimming, not just plumb and square.
None of this is exotic — it's standard Pacific Northwest coastal building science. But it only works if every step is followed on every opening, and that consistency is where a lot of new-construction window work falls short.
Why This Is Different From a Replacement Job
Replacing a window in an existing wall means working around what's already there — sometimes patching around old flashing mistakes you didn't make. New construction is the opposite: the rough opening, the water-resistive barrier, and the flashing sequence are all still open and accessible. That's an advantage, but it also means there's no excuse for shortcuts, because everything is visible and correctable before it gets covered up.
What a Correct New-Construction Window Install Involves
A properly installed window on a new West Sound build follows a sequence, not a shortcut. Skipping or reordering any of these steps is where future leaks come from.
- Rough opening check. Confirm the opening is square, plumb, and sized correctly for the window unit before anything else happens. A window forced into an out-of-square opening will never seal or operate right, no matter how good the flashing is.
- Sill pan flashing. A sloped, sealed sill pan under the window directs any water that gets past the window itself back outside the wall assembly instead of into the framing. This is one of the most commonly skipped steps on lower-bid jobs, and it's the one that matters most in a driving-rain climate.
- Water-resistive barrier integration. The housewrap or building paper has to be cut, lapped, and taped so water sheds down and over each layer — jambs over the sill pan, head flashing over the jambs. Reverse the order and you've built a funnel instead of a drainage path.
- Window setting and shimming. The unit gets set level, plumb, and square, shimmed at the correct load points so the frame doesn't rack or bind, with the manufacturer's specified gap for expansion.
- Flange sealing and fastening. Nailing or screw flanges get sealed with compatible tape or sealant — not whatever was left over from the last job — and fastened per the manufacturer's schedule to keep the warranty intact.
- Head flashing and drip cap. A proper head flashing or drip cap sheds water away from the top of the window before it ever reaches the seal.
- Interior and exterior air sealing. Low-expansion foam or backer rod and sealant around the interior perimeter stops air and moisture from moving through the wall cavity, which also helps with the marine-layer condensation swings common here.
Materials We Match to This Climate
Not every window and flashing product performs the same on a site exposed to salt air and driving rain. Our standard for West Sound builds includes vinyl or fiberglass frames with corrosion-resistant hardware, self-adhered flashing membranes rated for the temperature range we actually get here, and stainless or coated fasteners throughout. We steer clients away from bargain aluminum-clad options in fully exposed locations — not because the product is bad everywhere, but because unprotected aluminum hardware in direct salt air is a maintenance headache we'd rather you not sign up for. That's a judgment call based on trade-offs, not a knock on any manufacturer.
Choosing Windows for a West Sound Build
| Factor | What to Look For | Why It Matters Here |
|---|---|---|
| Frame material | Vinyl or fiberglass with UV- and salt-stable finish | Resists pitting and fading from salt air and sun exposure on west-facing walls |
| Glazing | Dual-pane, low-E, argon-filled for our climate zone | Balances heat retention with condensation control through damp, cool seasons |
| Hardware | Stainless steel or marine-grade coated | Standard hardware corrodes faster in coastal salt air than inland installs |
| Sill design | Sloped sill with integral drainage | Sheds driving rain instead of letting it pool and feed moss growth |
| Warranty structure | Manufacturer warranty that survives professional install documentation | Protects you if a defect shows up years later — but only if install steps were followed and recorded |
Our Process for New-Construction Window Installs
1. Plan Review and Product Selection
We review the build plans, window schedule, and elevations before the walls are even framed, so we can flag any openings that face direct weather exposure and need extra attention — typically west- and south-facing walls that catch the brunt of storms moving through the sound.
2. Coordination With Framing and Siding Trades
Window installation on new construction has to happen in sequence with framing, wrap, and siding. We coordinate timing so the water-resistive barrier and flashing go in correctly the first time, without rushing to keep pace with other trades.
3. Install and Documentation
Every opening gets the full sequence — sill pan, jamb and head flashing, correct fastening, and sealing — and we document the install so the manufacturer's warranty terms are met if you ever need to make a claim.
4. Final Check
Before siding closes the wall, we do a final check on flashing laps, sealant lines, and operation of each unit — this is the last point where a mistake is cheap to fix instead of expensive.
What to Ask Any Contractor Before They Install Your Windows
- Do you install a sloped sill pan on every opening, or only on request?
- What flashing tape or sealant do you use, and is it rated for this climate?
- Will you document the install for manufacturer warranty purposes?
- Have you installed windows on Orcas Island or elsewhere in San Juan County before, specifically on exposed sites?
- What's your fastening schedule, and does it match the window manufacturer's requirements?
- Who's actually on the crew doing the flashing work — is it the same person coordinating the schedule?
If a contractor can't answer these clearly, that's worth noticing before you sign anything.
Why Local Experience on West Sound Specifically Matters
Window installation standards don't change from one part of Orcas Island to another, but exposure does. A crew that's worked across West Sound knows which elevations tend to take the worst of the driving rain, how moss and mildew show up faster on certain sill designs, and what corrosion looks like after a few seasons if the wrong hardware went in. That's not knowledge you get from a manual — it's knowledge you get from being back on West Sound homes for repairs and maintenance and seeing which details held up and which didn't. We'd rather build it right the first time on your new construction than come back in five years to fix an opening that was flashed out of order.
Maintenance After the Build
New-construction windows installed correctly still benefit from a bit of seasonal attention in this climate:
- Rinse salt residue off frames and glass periodically, especially on water-facing elevations.
- Keep sills clear of debris and moss buildup so drainage paths stay open.
- Check exterior sealant lines annually for cracking or separation, particularly after a hard winter.
- Operate hardware through its full range a few times a year so it doesn't seize from disuse and salt exposure.
None of this is heavy maintenance — it's the same light upkeep any coastal home needs — but skipping it lets small issues turn into bigger ones faster here than in a drier inland climate.
Get an Estimate for Your West Sound Build
If you're framing a new home or addition on West Sound and want the window openings done right from the start, we're happy to walk the plans with you and give you a straightforward, no-pressure estimate. Use the form below to get in touch.