 Orcas Island Siding
 Siding Repair on Orcas Island Plays by Its Own Rules
Orcas Island sits in the San Juan Islands, surrounded by salt water and shaded in many places by dense stands of Douglas fir and madrona that keep hillsides and north-facing walls damp for months at a stretch. That mix of salt air drifting off the water, driving rain out of the southwest, and a moss season that can start in October and not really loosen its grip until May is harder on exterior siding than most people expect. A repair that would hold up fine in a drier, sunnier town can fail again within a season or two out here if it doesn't account for how this island actually behaves.
We treat siding repair on Orcas as a diagnostic job first and a patching job second. Chasing a stain or a soft spot without understanding why it showed up just buys the homeowner another repair bill in a year or two. Understanding the local climate — and how it interacts with the specific siding product already on the house — is what separates a repair that lasts from one that doesn't.
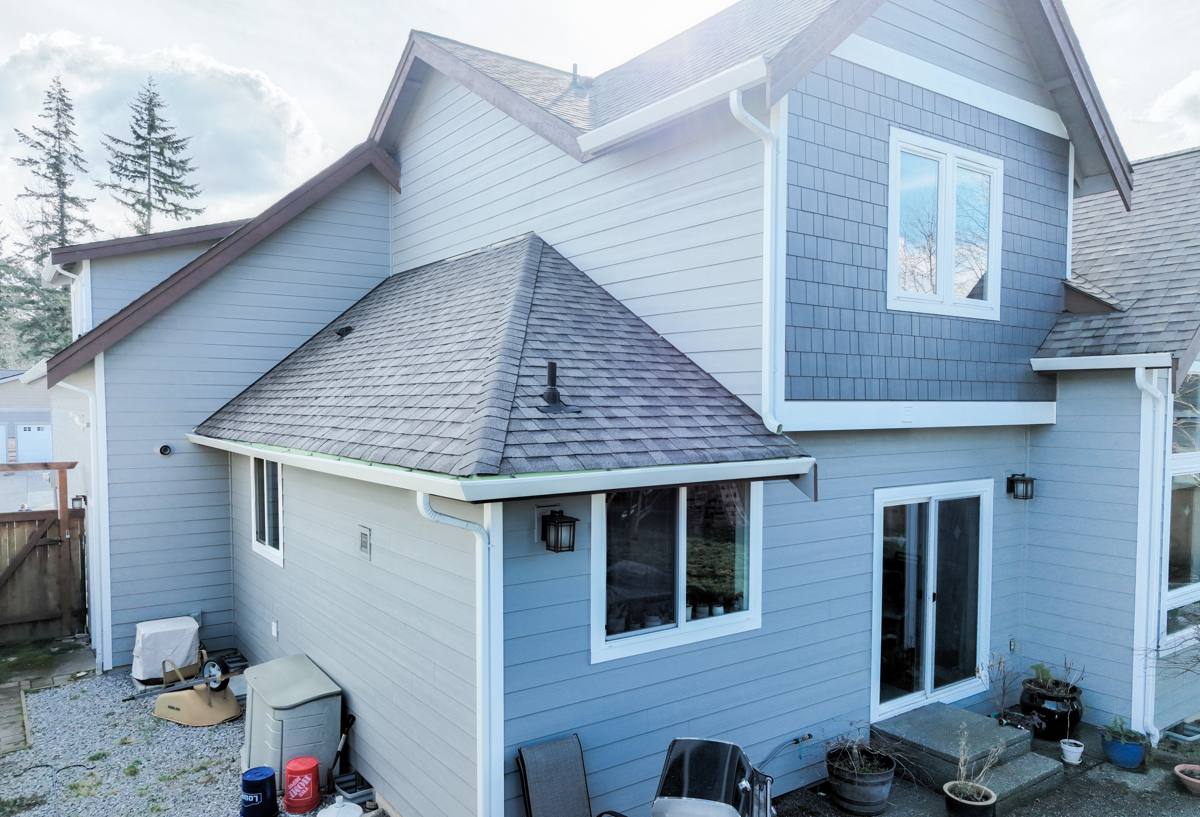
The Damage Patterns We See Most Often Out Here
Moss and Trapped Moisture
Shaded siding on Orcas holds moisture longer than siding in full sun, and moss thrives on that. Moss itself doesn't destroy siding directly, but it holds water against the surface far longer than open air would, and that constant dampness is what breaks down caulk joints, swells wood trim, and eventually finds its way behind panels through any small gap it can reach.
Salt Air and Fastener Corrosion
Homes closer to the water deal with a slow, steady salt exposure that isn't always visible until fasteners start rusting, streaking the siding around each nail head, or paint starts failing in a stippled pattern near coastline-facing walls. Salt-driven corrosion tends to show up first at fastener heads, flashing edges, and any exposed metal trim.
Driving Rain and Failed Joints
Storms coming off the water don't just fall straight down — wind-driven rain gets pushed sideways into seams, butt joints, and anywhere caulk has shrunk or cracked. On a lot of Orcas homes, the failure point isn't the siding material itself but the joints and transitions around it: window trim, corner boards, and panel seams that were caulked once and never revisited.
Impact and Age Damage
Fallen branches, ladder contact, and general age round out the list. Older wood or engineered wood siding on the island is also prone to soft, spongy spots where moisture has been working quietly for years before it ever shows on the surface.
What a Correct Diagnosis Actually Involves
Before we touch a panel, we look at the whole wall assembly, not just the spot the homeowner called about. That means checking:
- Whether the damage is isolated or a symptom of a larger moisture path — a failed flashing, a clogged gutter, a grading issue
- What's happening behind the siding — soft sheathing, staining, or a musty smell can mean the problem started well before the siding itself failed
- Whether nearby caulk joints, trim, and flashing are still doing their job or need to be part of the same repair
- What the existing siding material is, and whether it can be patched invisibly or needs a different approach
- Whether moss and organic growth are being fed by a specific shade or drainage condition that will keep causing the same problem if it isn't addressed
Skipping this step is how a homeowner ends up paying for the same patch twice. A repair that only addresses the visible symptom, without asking what caused it, is a temporary fix dressed up as a permanent one.
Repair or Replace: How We Make the Call
Not every damaged section needs to come off the wall. But there's a point where patch after patch stops making financial sense, and a homeowner is better served by replacing a wall section — or a full elevation — with a material built for this climate. The table below is a general guide, not a hard rule; the actual call depends on what we find during inspection.
| Situation | Repair Usually Makes Sense | Replacement Usually Makes Sense |
|---|---|---|
| Extent of damage | Isolated panels or a single wall section | Damage spread across multiple elevations |
| Underlying sheathing | Dry, solid sheathing found behind the damage | Soft or stained sheathing found during inspection |
| Siding material | Sound material with a color and profile match available | Discontinued, chalky, or generally failing material |
| Cause of damage | One-time event — impact, isolated caulk failure | Ongoing moisture or moss problem tied to the material itself |
| Age of siding | Well within its expected service life | Near or past the point manufacturers expect trouble |
When replacement is the right call, our standard recommendation is James Hardie fiber cement. It's the only siding product we install, and on an island with this much moisture, salt exposure, and shade, its resistance to rot, moisture swelling, and pest damage is exactly what a long-term repair strategy needs. We explain that reasoning plainly during the estimate rather than assume it — a repair-focused visit shouldn't turn into a sales pitch, but if replacement is genuinely the better decision, we say so.
How We Handle a Siding Repair, Start to Finish
Inspection and Honest Scope
We walk the affected area, check surrounding sections, and look behind the siding wherever damage or staining suggests moisture has been getting through — including gutters, grading, and vegetation contact that may be feeding the problem. Then we tell you plainly what we found, what's causing it, and what it will actually take to fix, even if that means more than the original problem area.
Removal and Prep
Damaged material comes off cleanly, sheathing is checked and dried or repaired as needed, and any compromised house wrap or flashing is replaced rather than caulked over.
Matching and Installation
Where the existing siding can be matched, we source material and install it to the same reveal and fastening pattern as the surrounding wall so the repair doesn't stand out. Where matching isn't realistic, or the material has simply run its course, we discuss replacing that section in James Hardie instead.
Sealing, Finish Work, and Walkthrough
Caulking, trim, and paint or factory finish are brought back to a clean, weathertight condition — this is where rushed repairs cut corners, and usually the first place the next failure shows up. We finish with a walkthrough, pointing out what was done and flagging anything else on the exterior worth watching.
What We Use to Make Repairs Last
We'll match existing material when it's still a sound product and a reasonable color and profile match is available — a homeowner shouldn't have to replace a whole wall over one damaged panel if a clean match is possible. But we don't install vinyl, LP SmartSide, primed spruce, cedar, or other fiber cement brands as a general practice, so when a repair grows into a section replacement or a full re-side, James Hardie is what goes on. It's non-combustible, engineered for wet marine climates through Hardie's HZ5 product line, holds a factory ColorPlus finish that resists the fading and chalking salt air causes on painted surfaces, and carries a strong transferable warranty when installed to spec. On an island where the weather doesn't let up for long, that's the material we're willing to stand behind.
Why an Island-Experienced Crew Matters Here
Orcas Island isn't a drive-to job for most contractors — it's a ferry reservation, a weather window, and a materials list staged in advance. A crew that already works San Juan County knows how to schedule around ferry availability so a repair doesn't stall out waiting on a part, and has already seen how moss, salt, and shade behave on this specific island rather than guessing from mainland experience. That familiarity shows up in small but real ways: knowing which wall orientations on Orcas take the worst of the driving rain, planning material orders around the ferry schedule instead of last-minute, and not needing a learning curve on an island where logistics alone can make or break a project timeline.
Keeping a Repair From Becoming a Repeat Repair
A good repair buys time, but ongoing upkeep is what protects it. A simple seasonal check can catch small problems while they're still small and cheap to fix.
- Clear moss and debris from siding, especially shaded, north-facing walls, before it builds up over the wet season
- Check that gutters are clear and draining away from siding, not overflowing onto it
- Look at caulk joints around windows, doors, and trim once a year for cracking or gaps
- Trim back branches and vegetation that keep siding damp or in direct contact with the wall
- Watch for soft spots, staining, or bubbling paint, especially after a hard storm season
- Address small issues promptly — a small caulk failure is a five-minute fix; left alone through a wet winter, it can become a sheathing problem
What Repair Work Typically Costs
Costs vary with the extent of damage, how much of the wall assembly is affected, and whether matching material is available or a section needs to be replaced in Hardie instead. A small, isolated repair with sound sheathing behind it is a modest job. A repair that uncovers moisture damage in the sheathing, or spans a full wall section, costs more because it's solving a bigger problem — and rushing past that step to hit a lower number is how homeowners end up paying for the same repair twice. We give a straight answer on scope and cost after we've actually looked at the wall, not before.
If you're dealing with a soft spot, a stained section, or siding on your Orcas home that just doesn't look right anymore, we're happy to take a look and give you a straight answer on what's going on and what it will take to fix it properly. Reach out below for a free, no-pressure estimate.