 Orcas Island Siding
 Building New in Obstruction Pass Means Planning for Water, Not Just Views
Obstruction Pass sits in one of the wetter, breezier corners of Orcas Island, and homes built here face a longer wet season and more salt-laden wind off the water than a lot of mainland San Juan County construction ever sees. When you're framing a new home or addition in this part of the county, the windows you choose and how they're installed are doing more work than the glass alone suggests. A window opening is the single most common place water finds its way into a wall assembly, and on a site exposed to driving rain and persistent damp, a mediocre install shows up as a callback in year two or three rather than year fifteen.
New construction gives you an advantage that a remodel doesn't: the wall is open, the sheathing and weather-resistive barrier are exposed, and the flashing sequence can be built correctly in the right order the first time. That's the whole argument for getting this stage right rather than treating it as a formality before the siding crew shows up.
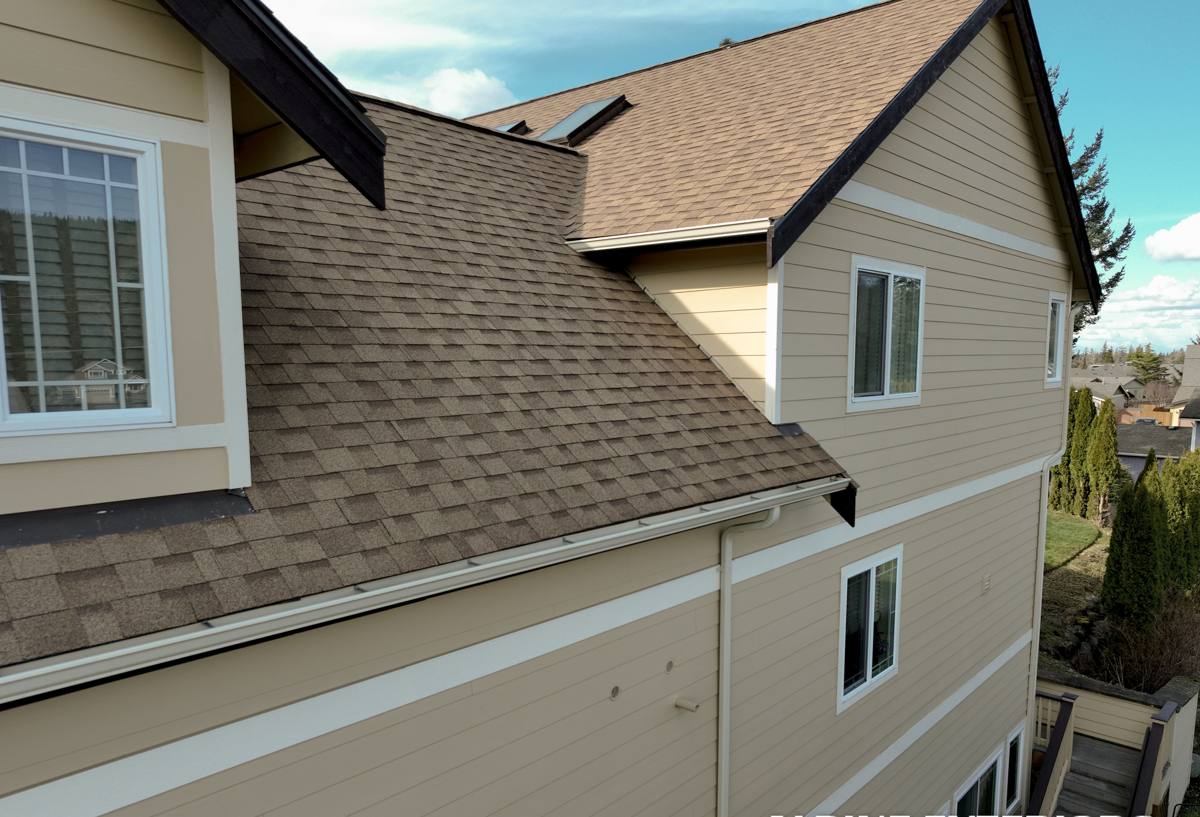
New-Construction vs. Replacement Windows: Why the Install Method Isn't Interchangeable
New-construction windows typically have a nailing fin around the perimeter that gets fastened directly to the sheathing and integrated into the weather-resistive barrier before siding goes on. Replacement windows are usually installed into an existing opening without disturbing the exterior cladding, using a different flashing approach built around the existing frame. Mixing up the two approaches — or having a crew install a new-construction window using replacement-window habits — is one of the more common sources of water intrusion we get called to fix on this island.
For a new build in Obstruction Pass, the nailing-fin approach done correctly is the stronger option, because it lets the flashing shed water down and out at every layer: sill pan, side flashing, head flashing, and WRB, each one lapping over the one below it like shingles. Done out of order, the same materials can actually trap water inside the wall instead of directing it out.
What Goes Wrong When the Sequence Is Rushed
- Head flashing installed before the side flashing, so water runs behind the side tape instead of over it
- No sill pan or back dam, leaving the rough sill as the only barrier against wind-driven rain
- Housewrap taped over the nailing fin instead of shingle-lapped, sealing water inside rather than shedding it
- Sealant used as the primary defense instead of as a backup to proper flashing
What a Correct New-Construction Window Install Actually Involves
A proper install is a sequence, not a single step, and every layer matters more here than it would in a drier inland climate. The order generally runs:
- Rough opening checked for level, square, and correct size before the window ever arrives on site
- Sill pan flashing installed with a back dam, sloped so any water that gets past the window drains back outward, not into the framing
- Window set, shimmed plumb and square, and fastened through the nailing fin per the manufacturer's schedule
- Self-adhered flashing tape applied to the sides first, then the head, each piece lapping over the one before it
- Weather-resistive barrier integrated over the flashing in the same shingle-lap order, so the whole wall sheds water downward
- Interior air sealing with low-expansion foam or backer rod and sealant, closing the gap between the frame and rough opening from the inside
- Exterior trim and sealant joints finished last, as the visible seal — not the only seal
Every one of those steps is inspectable while the wall is still open, which is exactly why new construction is the right time to get it right rather than something to catch up on later.
Choosing Windows for Salt Air, Wind, and a Long Wet Season
The frame material and hardware you choose matter as much as the install on a site this exposed to marine air and driving rain. There's no single "best" answer for every home — budget, architectural style, and how close the lot sits to open water all factor in — but the trade-offs are worth understanding before you order.
| Frame Material | Salt Air / Corrosion Resistance | Maintenance | Typical Fit |
|---|---|---|---|
| Vinyl | Good — won't corrode, though hardware quality varies | Low | Budget-conscious builds, strong energy performance |
| Fiberglass | Very good — dimensionally stable, resists pitting | Low | Higher-end new builds, larger openings |
| Aluminum-clad wood | Good exterior protection, but cladding seams need attention near salt air | Moderate | Traditional or high-end aesthetic where interior wood look matters |
| Bare aluminum | Weaker — prone to pitting and corrosion in marine exposure over time | Higher | We generally steer new builds away from this near open water |
Hardware finish matters as much as frame material. Look for corrosion-resistant hinges, locks, and rollers rated for coastal or marine exposure — standard interior-grade hardware tends to show pitting and stiffness within a few seasons of Obstruction Pass weather. We'll walk through options with you against your actual budget rather than defaulting to whatever's easiest to install.
Code, Energy Performance, and Egress — Plan These Before You Order
Washington's energy code sets minimum performance requirements for new-construction windows, typically expressed as U-factor (how well the window resists heat loss) and sometimes solar heat gain coefficient depending on orientation. In San Juan County's marine climate, a lower U-factor pays off through the damp shoulder seasons when heating runs long and often. Condensation resistance also matters more here than in a drier climate — a window that performs well on paper but condenses heavily in a cold, damp island winter creates its own moisture problem at the sill.
Bedroom windows also need to meet egress requirements — minimum clear opening width, height, and area, plus a maximum sill height above the finished floor — which needs to be confirmed at the framing stage, not discovered during final inspection. Getting NFRC label ratings and egress sizing right before the windows are ordered avoids the expensive fix of reordering or reframing an opening after the fact.
Our Process, From Framing to Final Seal
We work alongside your builder or general contractor rather than in isolation, because window install timing has to line up with framing, WRB, and siding schedules. Our process on new-construction jobs generally looks like this:
- Review rough opening sizes and window schedule against the plans before windows are ordered
- Confirm egress, U-factor, and hardware specs meet code and hold up to local exposure
- Install sill pan flashing and back dams at every opening, no exceptions for "easy" openings
- Set and fasten windows plumb, square, and to manufacturer fastening schedule
- Flash in the correct shingle-lap order — sill, sides, head, then WRB integration
- Photo-document flashing at each opening before it's covered by siding, so there's a record of what's behind the wall
- Air-seal the interior gap and finish exterior trim and sealant joints
That documentation step matters more on an island build than most places — if a question ever comes up later about how an opening was flashed, there's no easy way to have a specialist "just pop by" to check. Getting it photographed and right the first time avoids that entirely.
What We Watch For on Obstruction Pass Sites Specifically
Lots in and around Obstruction Pass often sit with real wind exposure off the water, which pushes rain sideways into wall assemblies harder than a sheltered inland site would ever see. That changes a few practical decisions: we tend to size up head flashing and extend side flashing further than a bare-minimum install would call for, and we pay close attention to how deep the eaves are relative to window placement, since deeper overhangs do real work reducing the amount of wind-driven rain that ever reaches the glass and flashing in the first place.
The long moss season here is also a maintenance factor worth planning for at the design stage, not just the install stage. Moss and organic buildup on nearby roof and trim surfaces holds moisture against adjacent building elements longer than most homeowners expect, so keeping window heads and trim clear of overhanging growth and organic debris paths is part of protecting the install you're paying for.
Why Hiring a Crew That Already Works This Island Matters
Every material for a new-construction job — windows, flashing tape, sill pan stock, sealants — has to make the ferry crossing before it ever reaches Obstruction Pass. A crew that already builds a materials and scheduling buffer for ferry timing and weather windows into their planning won't leave your framing exposed to a rain system while waiting on a reorder that a mainland crew wouldn't have thought twice about. That local logistics experience is a genuinely different skill from window installation technique, and both matter on a job like this.
Familiarity with how weather actually behaves at a specific site — not just "it rains a lot in the San Juans" in general, but how wind and rain move across a particular exposure — comes from having worked other jobs nearby, not from a manufacturer's install manual. That's the practical case for hiring a contractor with real time already logged on Orcas Island rather than a crew making its first trip over for your job.
Get a Straightforward Estimate
If you're framing a new home or addition in Obstruction Pass and want the window openings done right the first time, we're happy to walk the plans with you, talk through material options for your budget and exposure, and give you a straightforward, no-pressure estimate. Use the form below to get started.