 Orcas Island Siding
 Building New in Crow Valley Means Getting the Window Package Right the First Time
Crow Valley sits inland on Orcas Island, tucked between wooded hillsides and open pasture, which gives it a different feel than the exposed shoreline lots elsewhere on the island. That doesn't mean it's protected from San Juan County's marine climate. Salt-laden air still moves through the valley off the surrounding waterways, driving rain still comes in sideways during winter storms, and the tree canopy that gives Crow Valley its character also means longer shade, slower drying, and a moss season that runs most of the year. When you're building new, the window installation happens once — as part of the building envelope, tied into your house wrap, flashing, and siding sequence. Get it wrong and you're not swapping out a sash, you're chasing water intrusion behind finished walls.
We install new-construction windows for builders and owner-builders working in and around Crow Valley, and we treat this as a different trade than replacement window work — because it is.
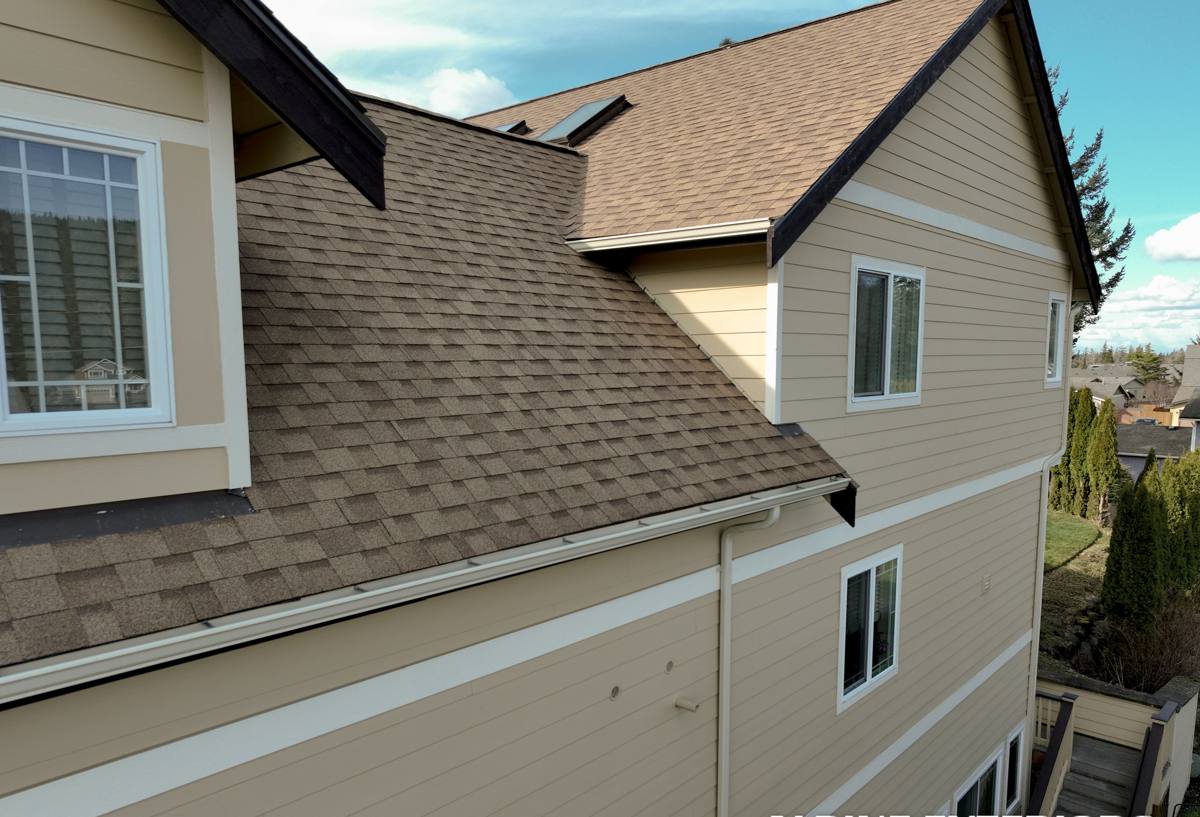
New-Construction Windows Are a Different Job Than Replacement
A replacement window gets set into an existing, already-flashed opening — the goal is a clean fit inside what's there. A new-construction window arrives with a nailing flange and gets integrated into the rough opening before the siding or trim ever goes on. That means the window installer is working directly with the framer, the house wrap, and the flashing sequence — not around them.
Rough Opening and Flashing Sequence
The order of operations matters more than almost anything else in this job. Sill pan flashing goes in first, sloped to shed any water that gets past the window back to the exterior. The window sets on top of that pan, gets shimmed level and plumb, and is fastened through the nailing flange per the manufacturer's schedule — not just "enough nails to hold it." Then the house wrap gets integrated over the flange in the correct shingle-lap order: sides first, then head flashing last, so water always sheds down and out, never into a seam. Skip a step or do it out of order and you've built a leak path into a brand-new wall.
Working With Your Builder's Timeline
On a new build, windows are on the critical path — framers, wrap crews, and siding crews are all waiting on that step to be done correctly before they can move. We coordinate directly with general contractors and owner-builders on scheduling so the window install doesn't become the bottleneck, and so nobody downstream is covering up a mistake they can't see.
What Orcas Island's Climate Actually Demands From a Window System
Salt Air and Slow Corrosion
Even in an inland valley, salt-bearing air off the surrounding waters reaches window hardware, fasteners, and metal flashing over time. Cheap or mismatched fasteners corrode faster than the window itself ages, and that corrosion is often invisible until a hinge, lock, or flashing panel fails. We spec corrosion-resistant fasteners and flashing metals for every install here, not just on waterfront lots.
Driving Rain and Wind-Driven Water
Winter storms on Orcas Island bring rain sideways, not just down. A window that's watertight in a calm test but hasn't been flashed for wind-driven rain will leak during the first real storm of the season. That's why sill pan flashing and correctly lapped head flashing aren't optional details — they're the difference between a window that holds up through thirty years of Pacific Northwest winters and one that starts showing water stains in year three.
Moss, Shade, and Slow-Drying Assemblies
Crow Valley's tree cover is part of what makes it a desirable place to build, but shaded walls dry slower after rain, and moss and algae take hold on any surface that stays damp — including window sills, trim, and the tops of frames. We factor drainage and airflow into the install so water doesn't pool on horizontal surfaces, and we talk with owners about trim details and drip caps that shed water rather than trap it against wood.
Choosing Frame Material for a Crow Valley Build
There's no single right answer here — it depends on your budget, your home's design, and how much upkeep you want to take on. Here's how the common options actually perform in this climate, honestly:
| Frame Material | Salt Air / Corrosion | Maintenance | Typical Cost |
|---|---|---|---|
| Vinyl | Doesn't corrode; UV can degrade some products over decades | Low — occasional cleaning | Lowest |
| Fiberglass | Excellent — dimensionally stable, resists salt and moisture well | Low | Mid to upper-mid |
| Wood-clad (aluminum or vinyl exterior) | Good if cladding and flashing details are correct; interior wood needs protection from any leaks | Moderate | Upper-mid to high |
| Aluminum | Prone to corrosion in salt air unless properly coated and detailed | Moderate | Mid |
For most Crow Valley new builds we lean toward fiberglass or quality vinyl for their combination of low maintenance and stable long-term performance in a damp, salt-influenced climate. Wood-clad windows can look great and perform well too, but only if the cladding and flashing are installed correctly — any gap becomes a slow, hidden moisture problem in a wood-frame window.
Our Installation Process, Start to Finish
- Review the window schedule and rough openings against the plans before framing is closed up, catching sizing or header issues early.
- Install sill pan flashing, sloped to drain outward, at every opening.
- Set and shim each window to level, plumb, and square, fastening per manufacturer specification.
- Integrate house wrap and flashing tape in correct shingle-lap order — jambs, then sill, then head.
- Seal and insulate the interior gap around the frame without over-compressing the window (over-foaming can bow a frame out of square).
- Walk each opening with the builder or owner before siding goes on, while flashing is still visible and easy to correct if needed.
That last step matters. Once siding is up, a flashing mistake is hidden — and expensive to diagnose later. We'd rather have that conversation on day one.
Common New-Construction Window Mistakes We See — and Avoid
- Skipping or reversing the flashing order — house wrap taped over the flange before sill flashing is set, which traps water instead of shedding it.
- Under-flashed or missing sill pans — relying on caulk alone at the sill, which fails long before the rest of the window does.
- Mismatched fasteners — standard steel screws or nails in a salt-air environment, corroding years before the window itself needs attention.
- Over-shimming or racking the frame — a window that's out of square can bind, fail to seal properly, or stress the glass seal early.
- Foam-sealing the gap too aggressively — expanding foam that bows the frame, leading to a window that won't open and close correctly.
- No pre-siding walkthrough — covering flashing work before anyone confirms it was done correctly.
Energy Performance and Orientation on a Wooded Valley Lot
Crow Valley's mix of open pasture and tree cover means orientation and shading vary a lot from lot to lot, which affects what glass package makes sense. A south- or west-facing wall with little tree cover benefits from a lower solar heat gain coefficient (SHGC) to manage summer heat and glare, while a shaded, north-facing wall is more about minimizing heat loss through a low U-factor. For most Orcas Island builds, we recommend dual-pane, low-E glass as the baseline, with triple-pane worth considering for particularly exposed or wind-driven elevations. We'll walk your specific lot and orientation with you rather than defaulting to one glass spec for the whole house.
Why a Crew That Already Works Crow Valley Matters
Building on Orcas Island comes with logistics that don't exist on the mainland — ferry schedules affect material delivery and crew scheduling, and San Juan County permitting and inspection has its own rhythm that's worth knowing ahead of time rather than learning mid-build. A crew that already works this area has that timing built into how we plan a job, so your window install doesn't stall waiting on a part that missed the last ferry or an inspection that wasn't scheduled with island logistics in mind. We also know how Crow Valley's terrain and tree cover tend to behave — where water wants to go on a sloped, wooded lot, and where moss and shade will be a long-term maintenance factor for the home once it's built.
Before You Sign a New-Construction Window Contract
- Ask who installs the sill pan flashing and in what order relative to the house wrap.
- Confirm the fastener and flashing metal specs are rated for a salt-air, marine climate.
- Get the glass package (U-factor and SHGC) in writing, matched to each elevation's orientation.
- Ask for a pre-siding walkthrough so flashing is checked before it's covered.
- Confirm the installer is licensed and bonded to work in Washington and familiar with San Juan County inspection requirements.
- Ask how material delivery is scheduled around the ferry, so your build timeline doesn't stall.
If you're building in Crow Valley and want a straight answer on what your window package should look like for this climate and this lot, we're happy to walk the plans with you. Reach out below for a free, no-pressure estimate — no obligation, just an honest look at what the job actually needs.