 Orcas Island Siding
 Crow Valley's Roofs Face a Different Set of Problems
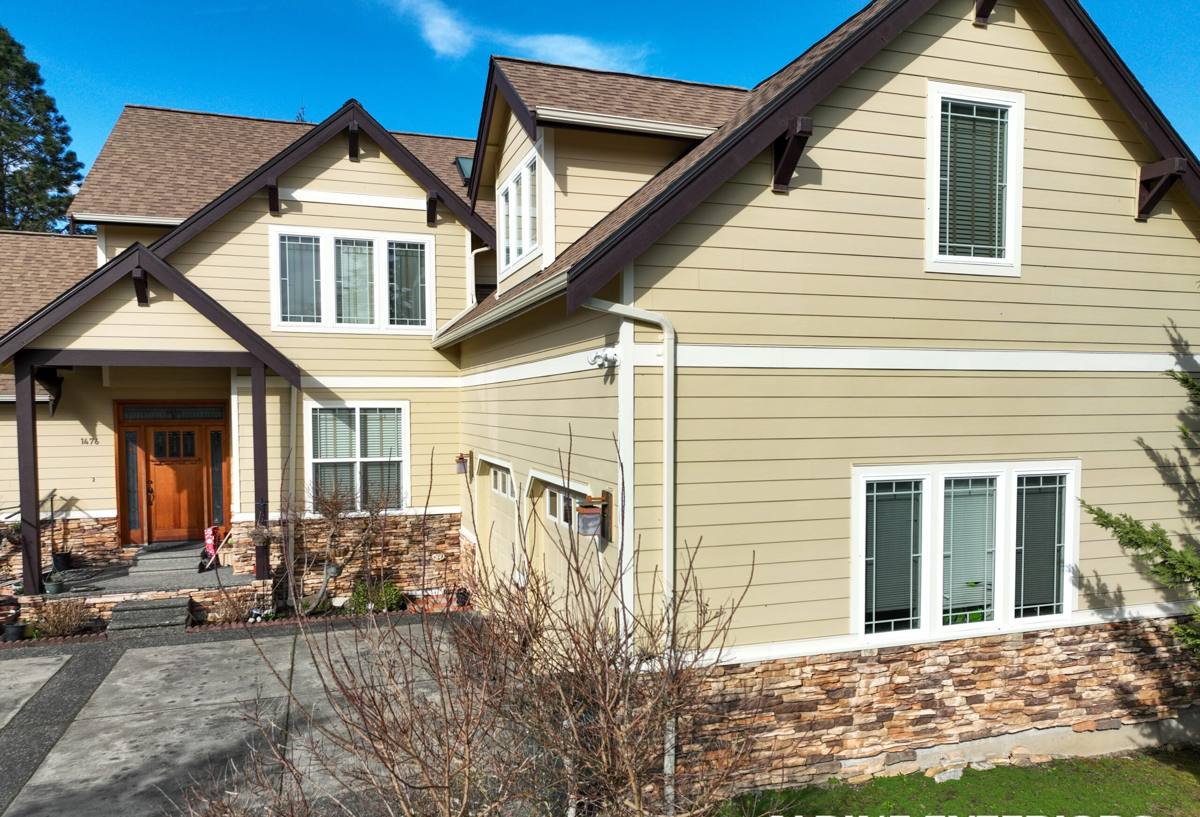
Crow Valley sits inland from the shoreline, tucked among farmland and second-growth forest in the interior of Orcas Island. That position changes what a roof deals with compared to a house perched on open bluff. Tree canopy holds shade and moisture on the roof deck long after a storm has passed. Marine air off the Salish Sea still reaches this far in, carried by weather systems that push damp, salt-tinged wind up the valley even when you can't see the water from your porch. Add San Juan County's long, wet shoulder seasons and you get a roof that rarely gets a full day to dry out between fall and spring.
None of that means asphalt shingle roofing is a bad fit here — it's one of the most practical, cost-effective roofing systems available, and it performs well in this climate when it's specified and installed correctly. The trouble is that "correctly" looks different in Crow Valley than it does on a dry, open lot on the mainland. A roof crew that hasn't worked this specific mix of shade, moss, and driving rain tends to make the same generic assumptions everywhere, and those assumptions are what lead to premature moss colonization, soft decking, and shingles that granule out years before their rated life.
What a Roof Actually Needs to Do in This Climate
Strip away the marketing language and a good roofing system in Crow Valley has to manage four things well:
- Shed water fast — driving rain off the strait doesn't fall straight down; it drives sideways under eaves and around penetrations, so laps and flashing have to be tight.
- Resist moss and algae — shaded roof planes under tree cover stay damp for days, which is exactly what moss needs to establish.
- Breathe — trapped attic moisture condenses on the underside of a cool deck overnight, which rots sheathing from the inside even if the shingles up top look fine.
- Handle debris load — needles, leaves, and moss fragments collect in valleys and behind chimneys under tree canopy, and a roof detail that isn't built to shed that debris will hold water against the shingles.
Asphalt shingle roofing checks all four boxes when the underlayment, flashing, ventilation, and shingle grade are chosen for this environment rather than pulled from a generic spec sheet.
Choosing the Right Shingle for a Shaded, Damp Site
Not every asphalt shingle is built the same way, and the differences matter more here than in a dry climate. The table below is a general guide — actual products and pricing vary by manufacturer and by what's currently available through Pacific Northwest suppliers.
| Shingle Type | Typical Lifespan | Moss/Algae Resistance | Notes for Crow Valley |
|---|---|---|---|
| Standard 3-tab | 15–20 years | Low unless treated | Lowest upfront cost, but shows granule loss and moss faster under tree cover |
| Architectural (laminate) | 25–30 years | Moderate to high with algae-resistant granules | Best balance of cost and durability for shaded lots; our default recommendation |
| Premium/designer laminate | 30–40+ years | High with algae-resistant granules | Worth it on steep, highly visible roofs or where you want a longer service interval |
We steer most Crow Valley homeowners toward algae-resistant architectural shingles specifically because of the tree cover common in the valley. That granule treatment (usually copper- or zinc-based) slows the growth that plain shingles are prone to in constant shade — it's a maintenance-burden decision, not a claim that untreated shingles are defective. On a fully open, sun-exposed roof plane the upgrade matters less; under a canopy it earns its cost back in fewer moss treatments and a longer real-world lifespan.
Color and Reflectivity
Darker shingles hide staining better but run warmer, which can slightly reduce moss growth on sun-exposed slopes while doing nothing for shaded ones. Lighter colors show streaking sooner but don't change moisture behavior underneath. In a mixed sun/shade site like most Crow Valley lots, color is mostly an aesthetic choice — the material and ventilation underneath do the actual work.
What a Correct Installation Actually Involves
The shingle is the visible layer, but it's the last piece of a system. A roof that fails early almost always failed somewhere underneath the shingles, not because the shingle itself was defective.
Underlayment and Ice/Water Protection
We use synthetic underlayment across the full deck for tear resistance and consistent water shedding, with self-adhering ice-and-water membrane at eaves, valleys, and around every penetration — the spots where wind-driven rain and debris dams are most likely to force water backward under the shingle course.
Flashing
Step flashing at walls and chimneys, and properly lapped valley flashing, matter more here than in a dry climate because water sitting against a poorly lapped joint for days at a time will eventually find its way in. Reused or bent flashing from a tear-off is a shortcut we don't take.
Ventilation
Balanced intake at the eaves and exhaust at the ridge keeps the attic air moving, which controls both summer heat buildup and winter condensation on the deck's underside. On homes with cathedral ceilings or additions with limited attic space, we look at ventilation options case by case rather than assuming a standard ridge vent will solve it.
Nailing and Wind Resistance
Correct nail count and placement — not staples, not overdriven nails — is what keeps shingles attached during the valley's winter wind events. It's an invisible detail once the roof is finished, but it's the difference between a roof that stays intact and one that loses tabs in the first hard blow.
Problems We Commonly See on Crow Valley Roofs
A few issues show up often enough on re-roofs and repair calls in this area that they're worth naming directly:
- Moss bridging shingle tabs — once moss gets a foothold under tree cover, it lifts tab edges and holds water against the deck.
- Debris-clogged valleys — needles and leaf litter pack into valleys and behind chimneys, backing water up under the shingle courses above.
- Soft or discolored decking at eaves — usually a sign that ice-and-water membrane was skipped or under-lapped on the original install.
- Nail pops and cracked tabs — from repeated wet/dry cycling on a roof that never gets long, dry stretches to fully cure and settle.
- Rusted or under-lapped step flashing — a frequent source of slow leaks around chimneys and dormers that aren't obvious until interior staining shows up.
Most of these trace back to installation shortcuts or deferred maintenance, not the shingle material itself. It's why we spend real time on the underlayment and flashing details that don't show up in a curb-side look at a finished roof.
Our Process, Start to Finish
We keep the process straightforward and communicate clearly at each stage, which matters more on an island than it does on the mainland:
- On-site inspection — we walk the roof (or use appropriate access for steep pitches), check the deck condition, existing ventilation, and flashing points, and photograph anything that affects the scope.
- Written estimate — a clear scope covering tear-off, deck repair allowances, underlayment, flashing, and shingle selection, so there are no surprises mid-project.
- Material staging — because everything for an Orcas Island job comes over by ferry, we plan delivery windows and on-site storage carefully so materials arrive dry and the crew isn't waiting on a missed sailing.
- Tear-off and deck assessment — old roofing comes off down to the deck, and any soft or water-damaged sheathing is identified and replaced before anything new goes down.
- Installation — underlayment, ice-and-water membrane, flashing, and shingles installed in that order, with attention to the ventilation path throughout.
- Site cleanup and haul-off — old material and debris are removed from the property; on an island, we plan disposal logistics as part of the job rather than leaving it as an afterthought.
- Final walkthrough — we go over the finished roof with you before we consider the job done.
Keeping a New Roof Healthy in This Climate
A well-installed roof still benefits from basic upkeep in a shaded, damp environment. This isn't a heavy maintenance list, but skipping it is how moss and clogged valleys get a head start:
- Clear needles and leaf litter from valleys and behind chimneys once or twice a year, more often under heavy tree cover.
- Keep gutters flowing freely so water isn't backing up under the lowest shingle course.
- Trim overhanging branches back where practical to reduce shade and debris load on the roof plane.
- Address any moss growth early with an appropriate treatment rather than letting it spread across a season.
- Have the roof looked at after any major windstorm to catch lifted tabs or flashing movement before they turn into leaks.
Why Local Roofing Experience Matters Out Here
Orcas Island roofing has real logistics baked into it that a mainland-based crew won't plan around by default: ferry schedules that dictate when materials and equipment can arrive, San Juan County permitting and code requirements, and site access that's often tighter and more tree-lined than a typical mainland lot. A crew that regularly works Crow Valley and the surrounding areas already accounts for these things in scheduling and material planning, instead of discovering them mid-project. That familiarity also means we know what tends to go wrong on roofs in this specific microclimate — the shaded valleys, the debris load, the moisture cycling — and we build the installation around preventing those specific failures rather than applying a one-size-fits-all approach.
Get a Straightforward Estimate
If your Crow Valley roof is showing moss, granule loss, soft spots, or you're simply planning ahead for a replacement, we're happy to take a look and give you an honest read on condition and options. Reach out for a free, no-pressure estimate using the form below.